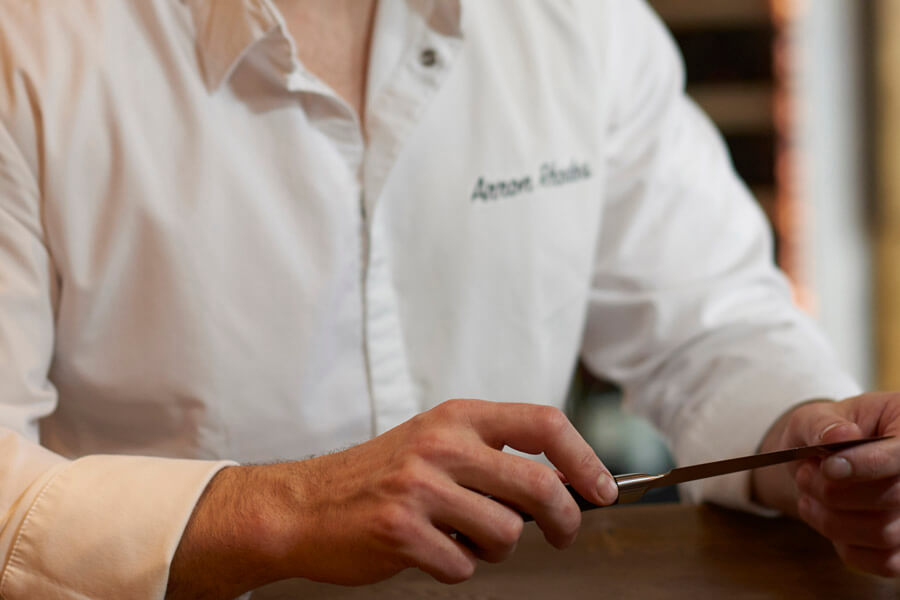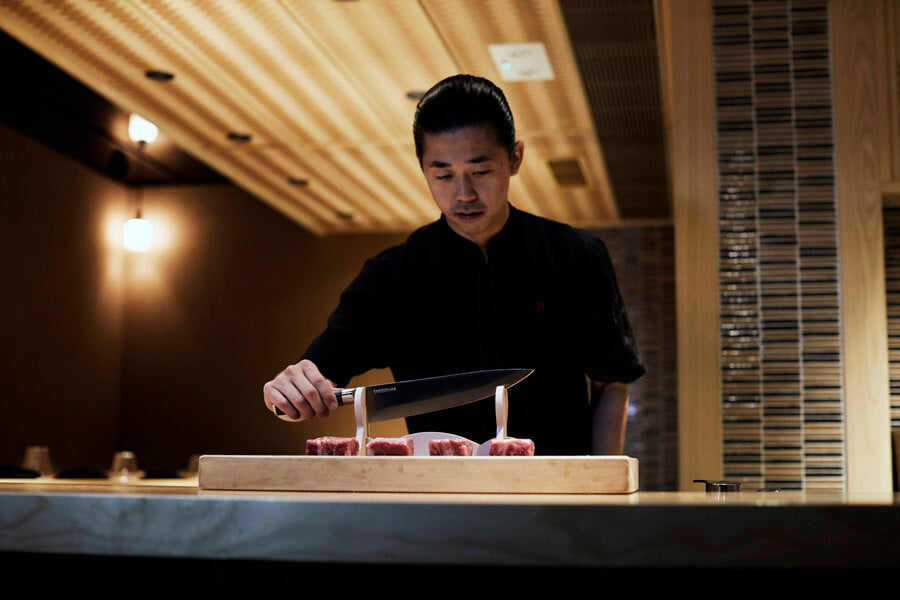
Japanese chefs are renowned for their masterful knife skills. The techniques they employ to create intricate sushi dishes and vegetable garnishes take much time, perseverance and practice to develop.
The first step in the learning process is understanding what different techniques are used for various types of dishes, along with why Japanese chefs are so distinctive.
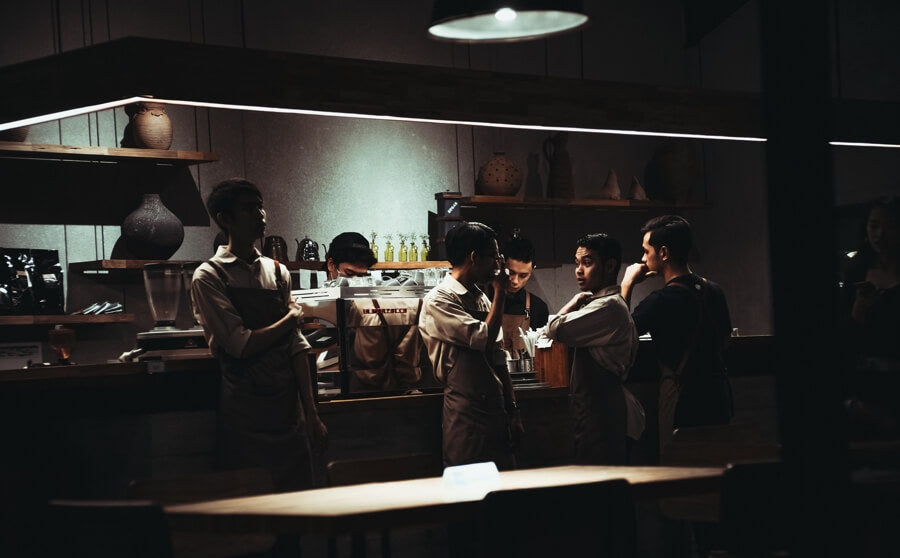
What Makes Japanese Chefs Elite?
The answer to this question is multi-layered. However, all elite Japanese chefs have two core traits in common: discipline and a dedication to their craft. While this is true of many Western chefs too, the Japanese are ultra-serious when it comes to their knife handling and development skills. This is perfectly illustrated by the fact that it can take 10 years of training to become an itamae (sushi chef).
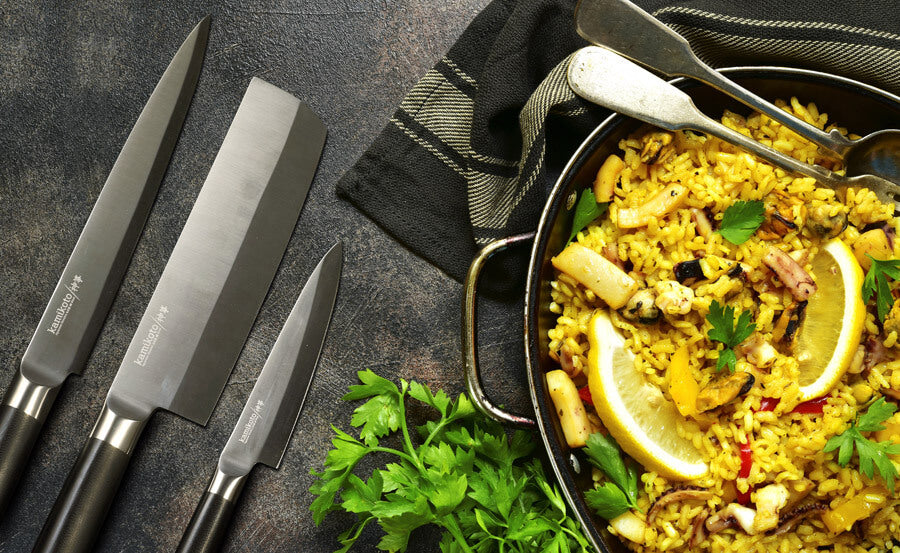
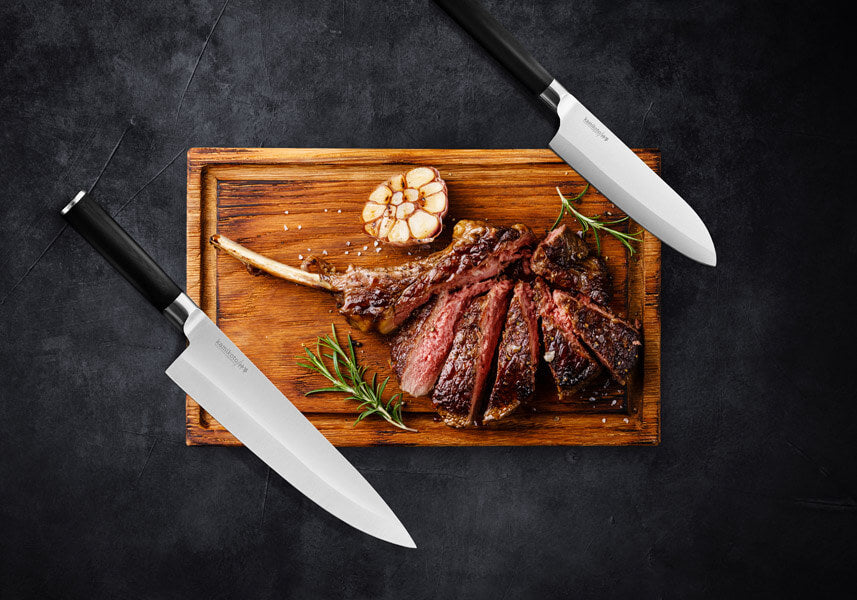
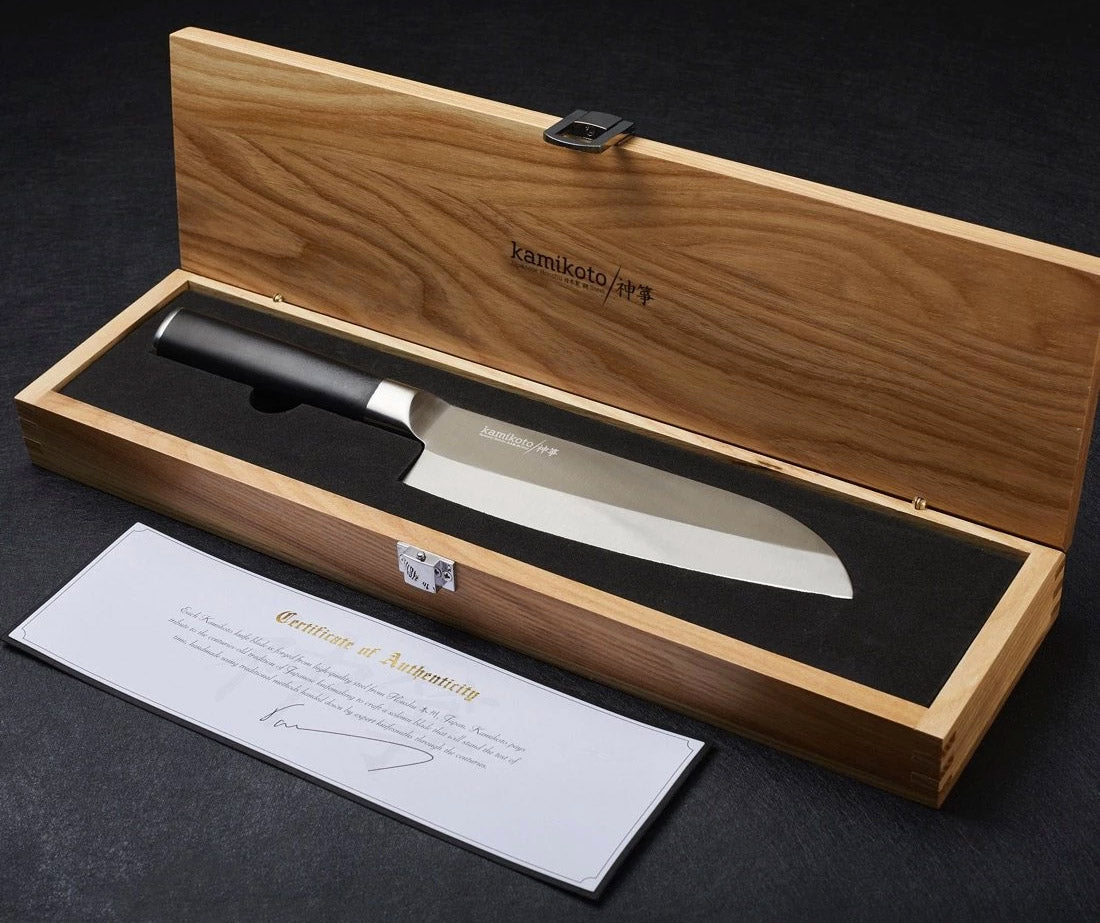
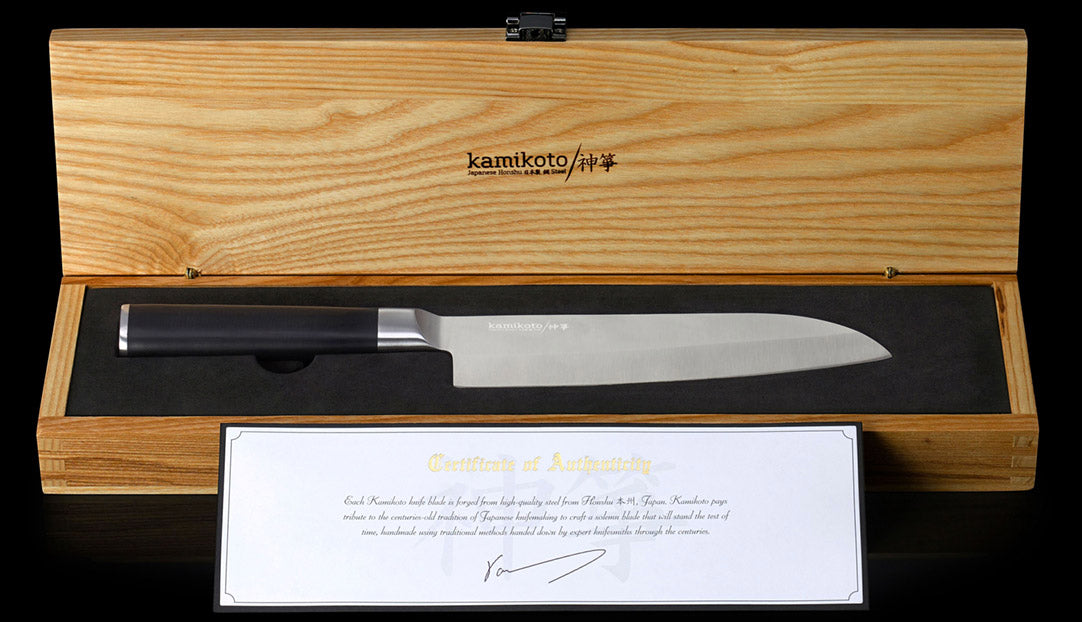
Apart from their training, the tools Japanese chefs use are also slightly different to those of their Western counterparts, particularly the composition of their knives.
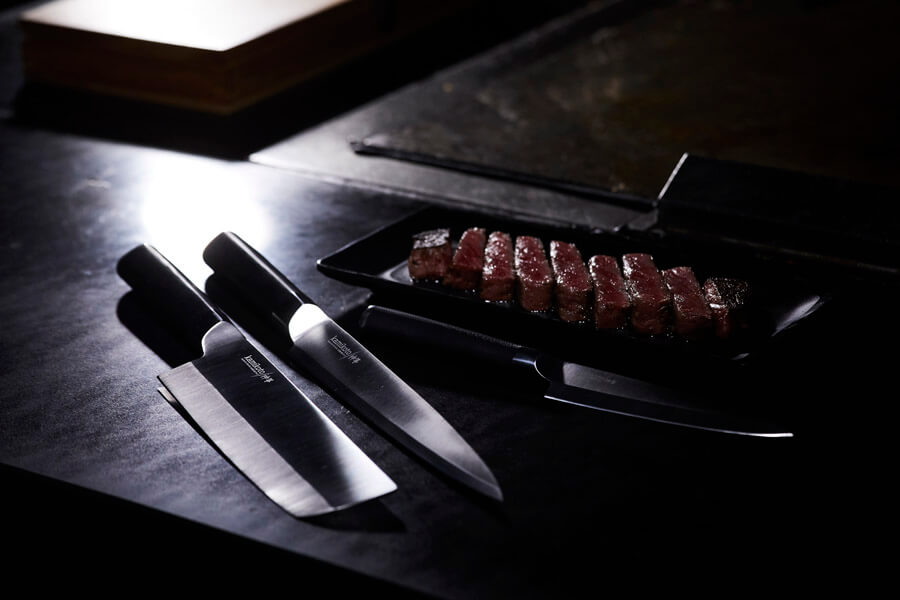
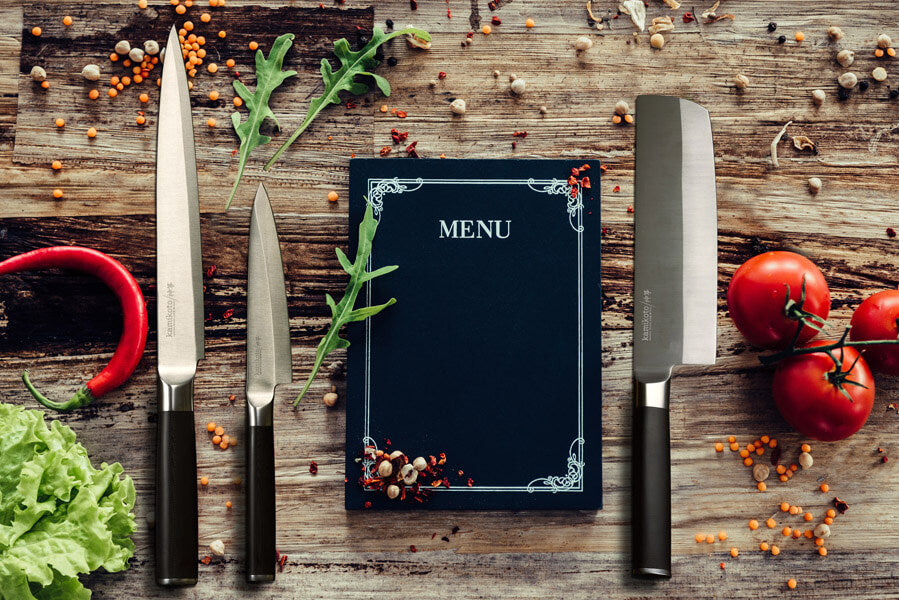
How are Japanese Knives Different?
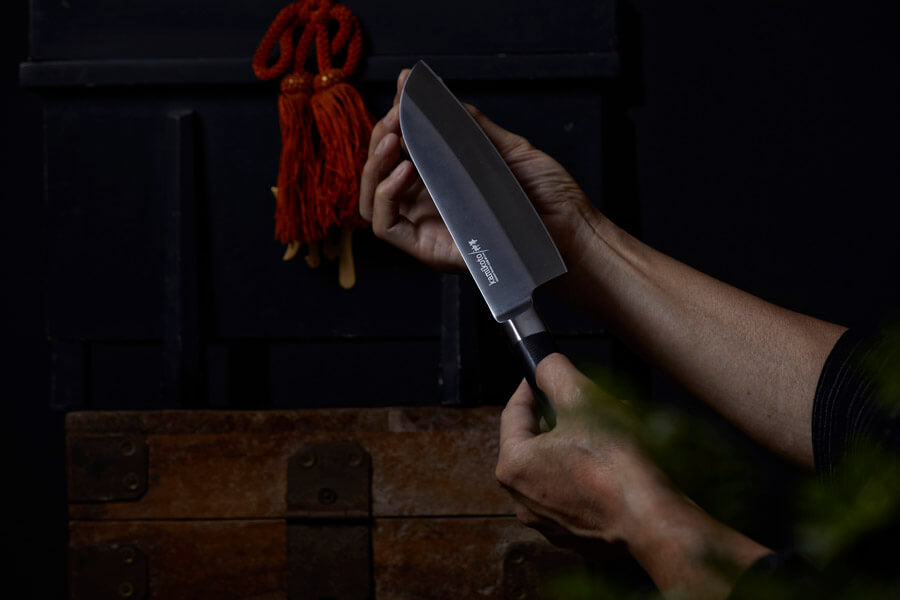
There are various differences between Japanese and Western style knives but they can be summarized into the following categories:
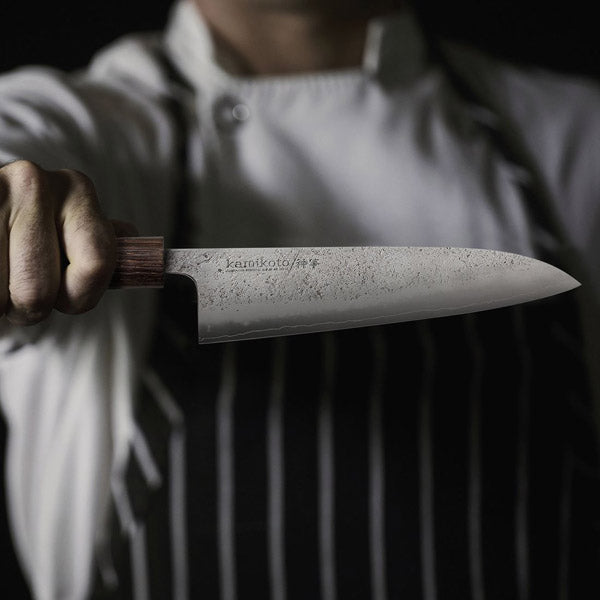
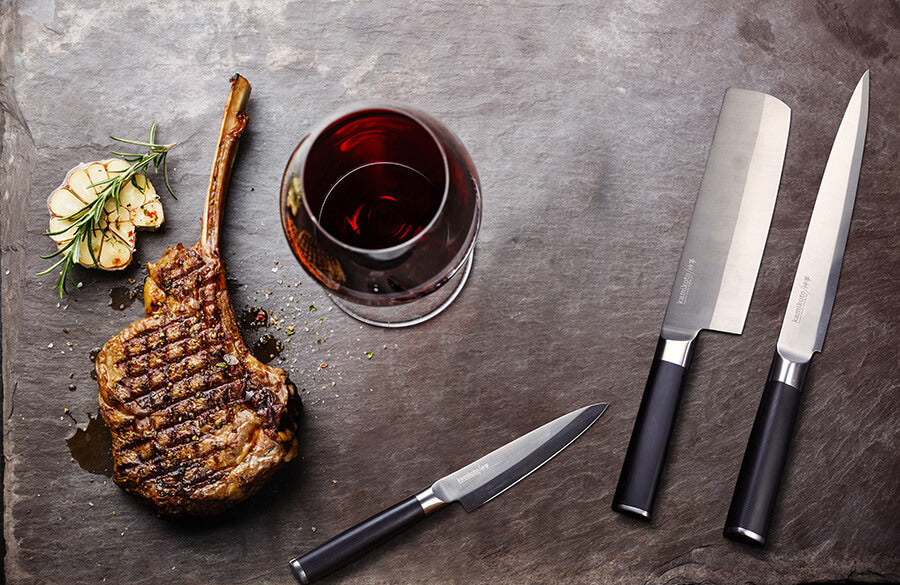
Steel
Japanese blades are forged from a harder, yet thinner, steel which results in greater durability.
Smaller angle
Tougher steel also means Japanese knives can be sharpened to a much finer angle. This allows chefs to create precision cuts, which is vital in Japanese cuisine.
Bevel
Many Japanese knives have a single-bevel, whereas Western knives tend to have a double-bevel. The bevel refers to the surface that is ground to form the knife’s edge. Single-bevel knives can be ground to a much finer angle than double-bevel ones, once again making for much sharper cuts and slices.
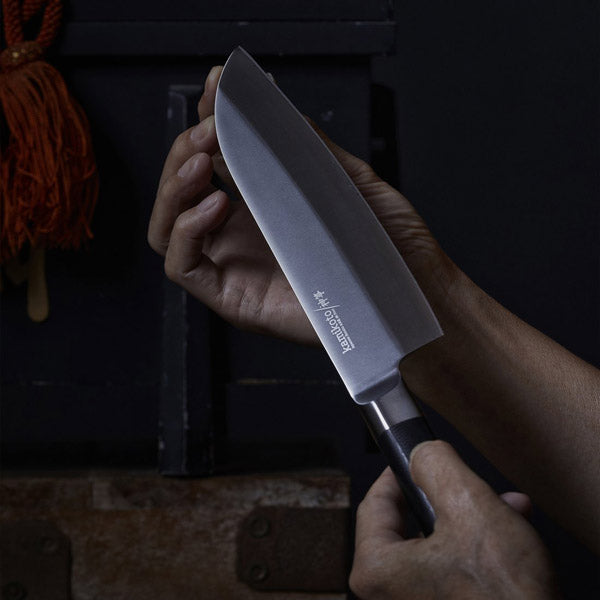
Sharpening
Single-bevel Japanese knives such as a Santoku are generally easier to sharpen than Western-style chef’s knives as they only need honing on one side.
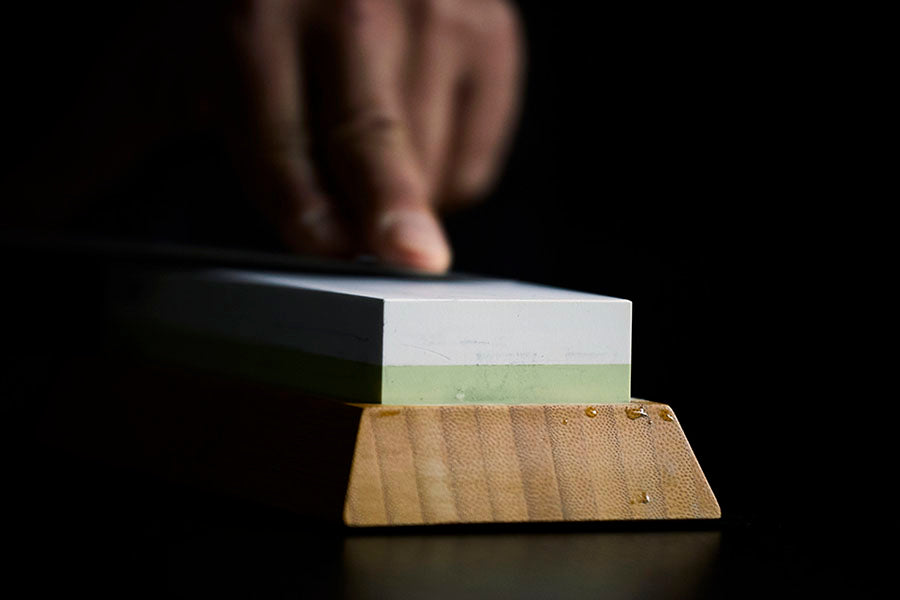
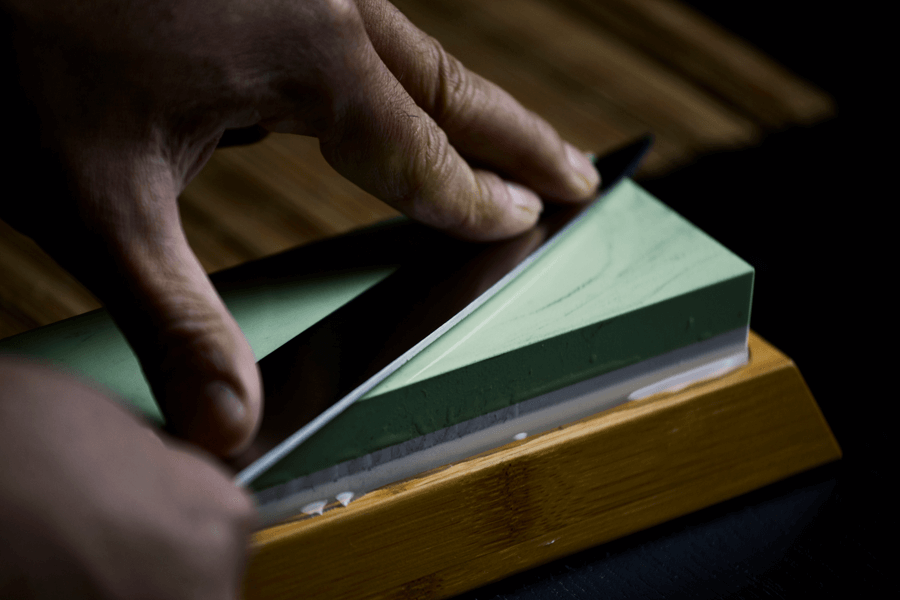
Whetstone sharpening is the most effective way to sharpen a Japanese knife, although for many Western knives a sharpening rod or steel can also be used. Using a rod on Japanese knives is not recommended as the thin, razor sharp steel may chip or crack.
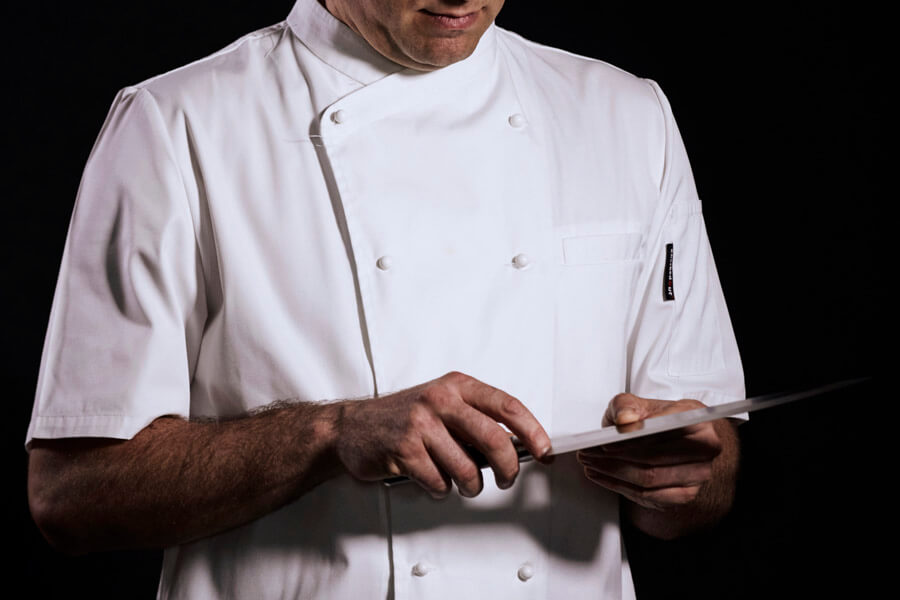
Japanese Chef Knife Sharpening Technique
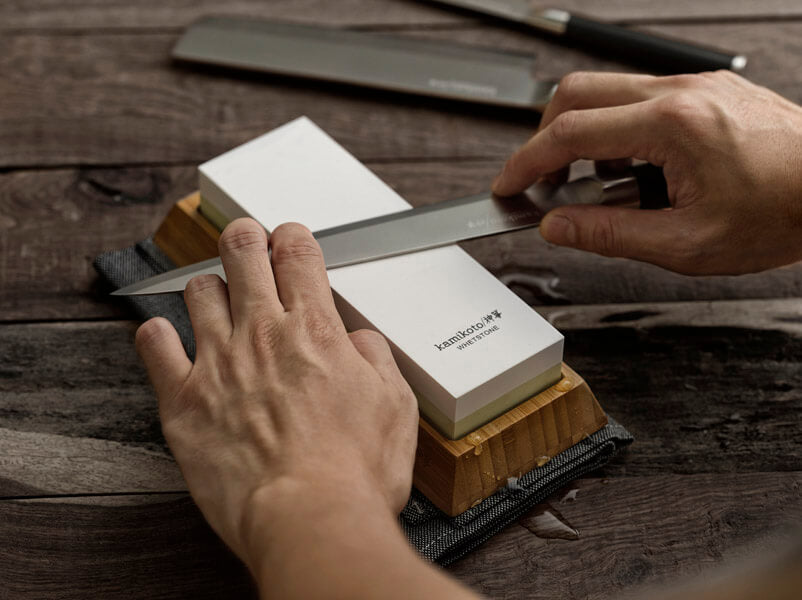
The following is outline of how to sharpen Japanese knives using a whetstone, but adherence to the stone’s manufacturer instructions is also highly recommended.
- Soak whetstone in water
- Start on the coarse side, holding the knife at the required angle
- In a smooth motion, run the knife up & down the stone, covering all parts of the blade
- If knife is double-bevel, repeat on other side
- Turn stone to fine side & repeat process
- Rinse & dry knife
Essential Japanese Chef Knife Skills
Japanese cuisine is made up of a plethora of distinctive cooking styles and dishes. To create each one, different knife skills are employed.
What follows is a rundown of a few fundamental techniques, plus a description of which one to use in relation to specific dishes.
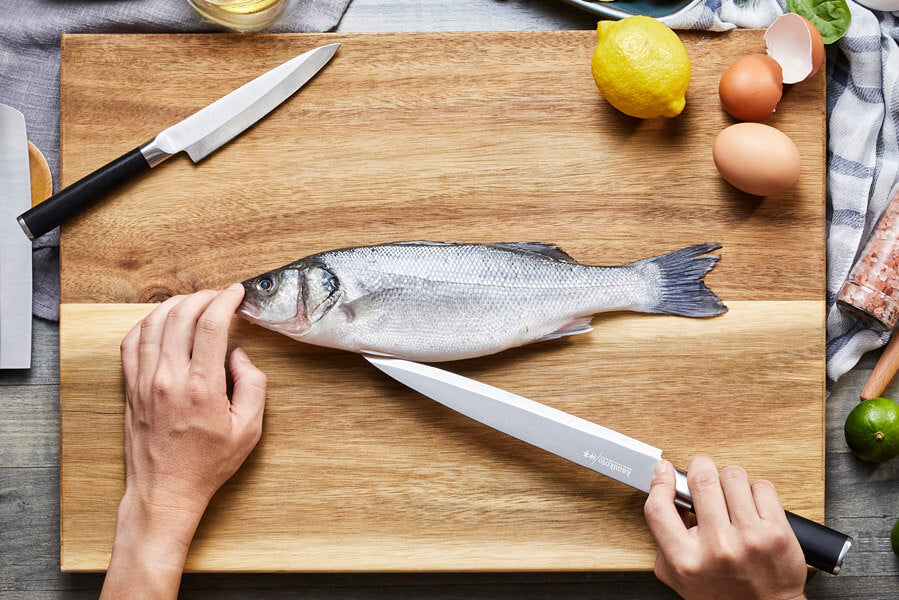
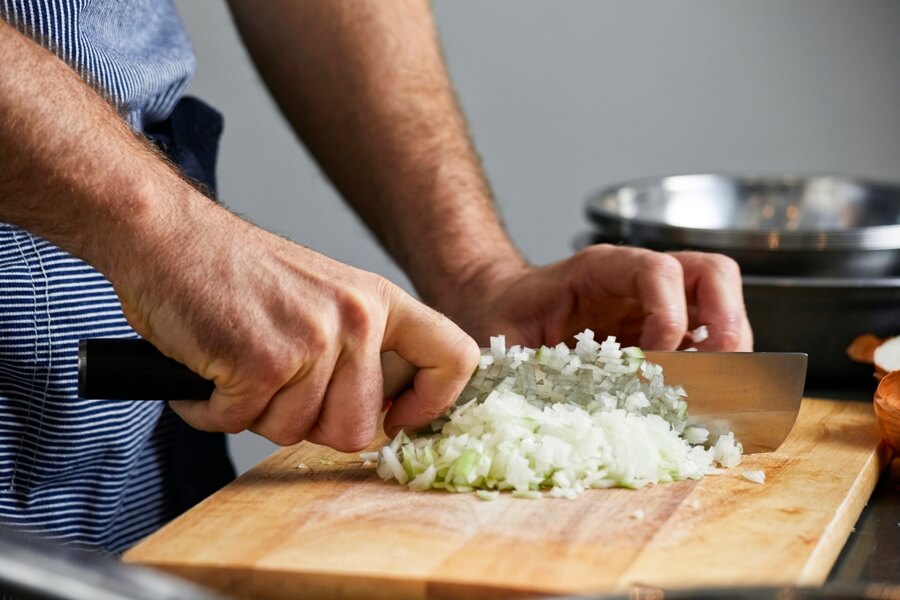
Note: before perusing the techniques, it is important to first understand how to position one’s hands when employing the various cutting methods.
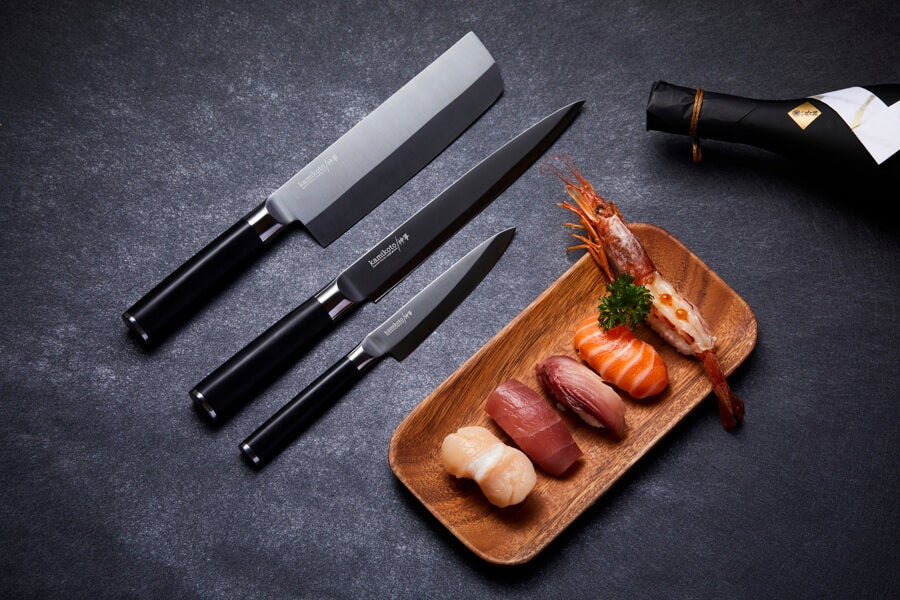
Knife Techniques for Sushi & Sashimi
There are a number of knife cutting techniques Japanese chefs use when making sushi and sashimi. Here are a selection:
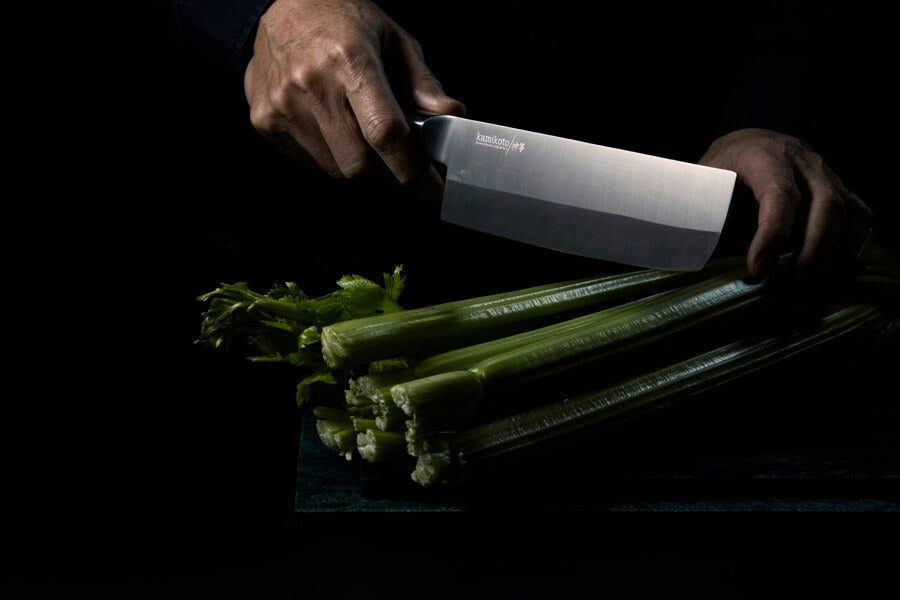
Katsuramuki
This is one of the most well-known and admired Japanese chef knife techniques. It involves cutting long, wafer-thin sheets from cylinder-shaped vegetables such as daikon and cucumber (although it can be used on eggplant and carrot as well).
Once the sheets are cut, they can be used to wrap around other ingredients and create sushi rolls. Alternatively, whole sheets can be cut into juliennes (sengiri) or fine, noodle-like ken cuts and used as garnishes or within dishes.
Note: this technique is very difficult to master. Proceed very slowly when first learning as it is very easy to slip and cut one’s hand.
Technique:
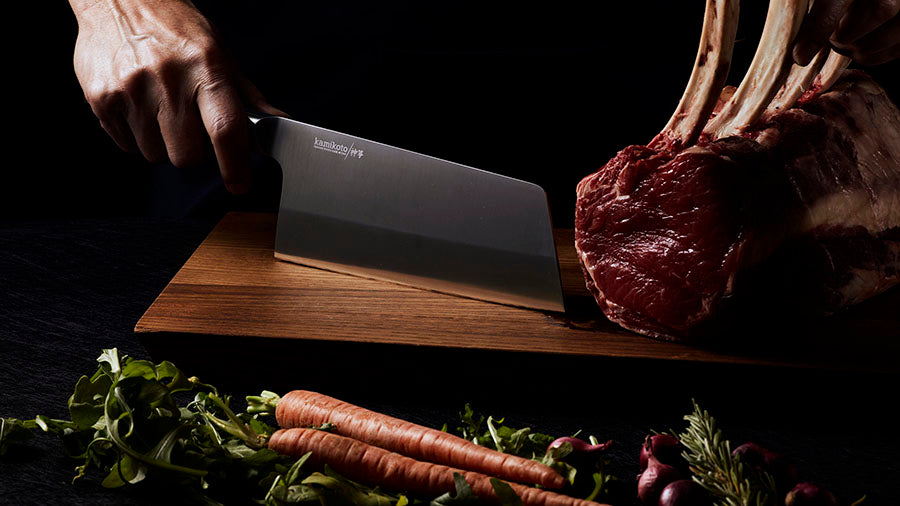
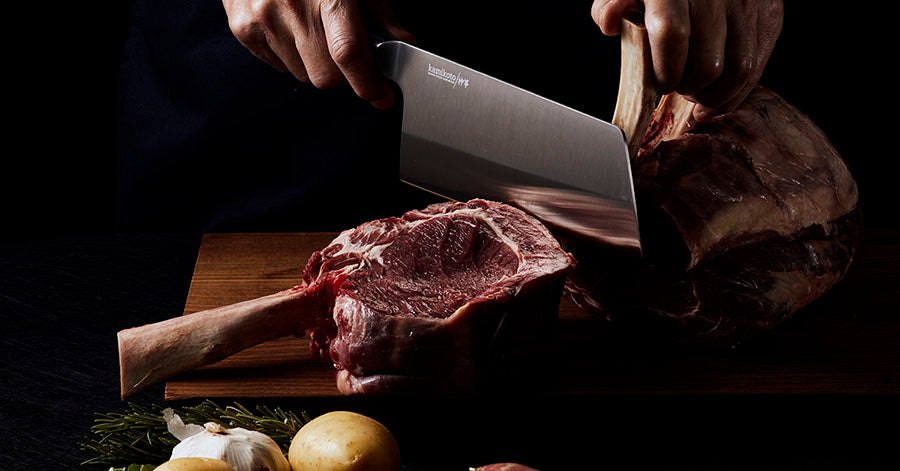
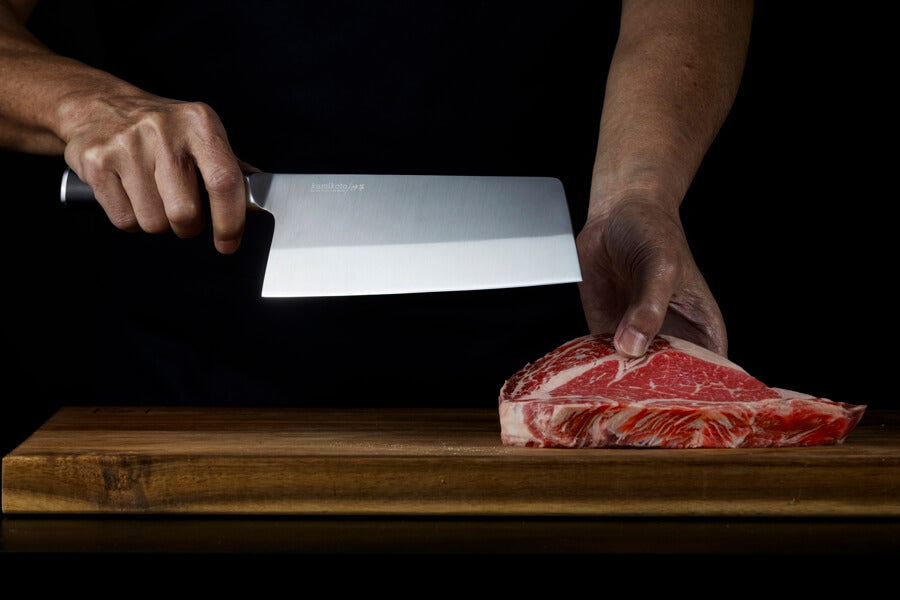
- Choose the correct Japanese knife (a Chuka Bocho/Chinese Cleaver is ideal)
- Cut the vegetable into a manageable size, i.e. 5 – 6 inch piece
- Grip the knife in the cutting hand and hold the vegetable firmly in the non-cutting hand, using the thumb of that hand as a guide between the knife and vegetable
- Position the knife against the vegetable and begin to make a thin cut, slowing and steadily cutting in a circular motion to create one smooth sheet
- Proceed to the sengiri or ken cut if desired
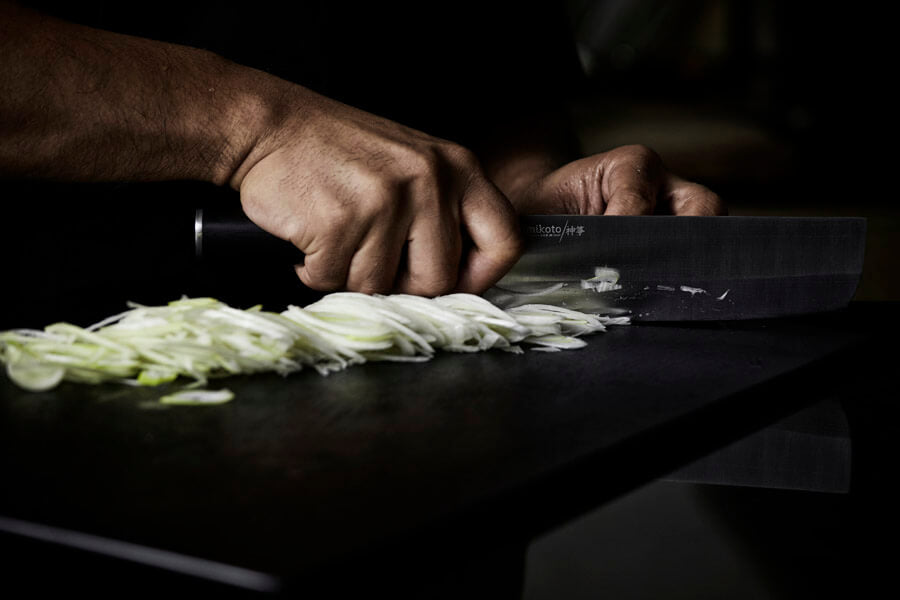
Sengiri (julienne) & Ken (noodle)
These two cuts are used in many ways in sushi dishes. Sengiri cuts create thin strips of vegetables that are used to fill sushi rolls and also as a garnish.
Ken cuts create extremely thin, noodle-like pieces of daikon which are then placed underneath sashimi pieces as a contrast to their vibrancy. However, they can also be eaten to cleanse the palate between bites of different varieties of sashimi.
Technique:
- Follow the steps listed above to create one, long sheet
- Cut the sheets into 3 inch wide squares
- Stack the squares & then slice through to create uniform, approximately 1/8-inch julienne pieces
- For ken-style, shred the julienne pieces even finer
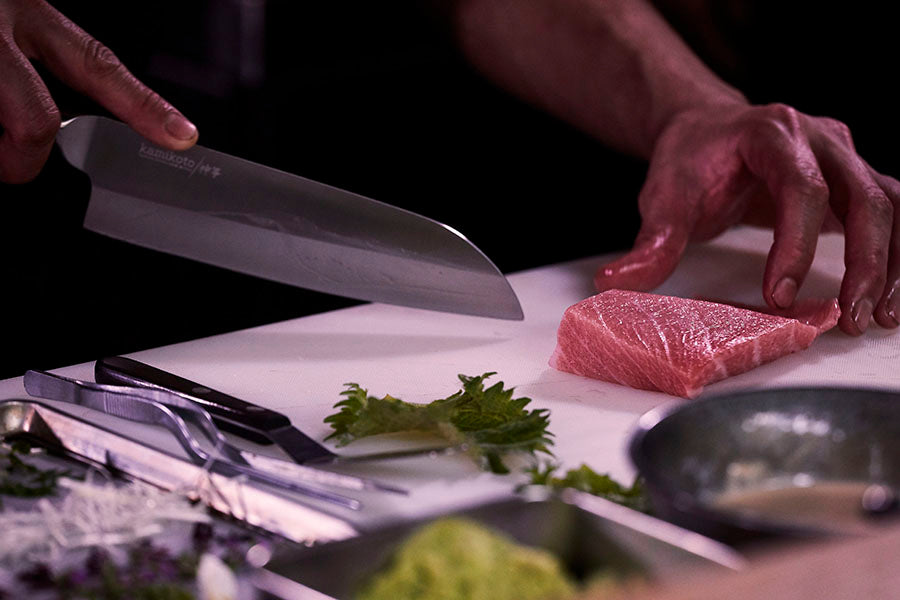
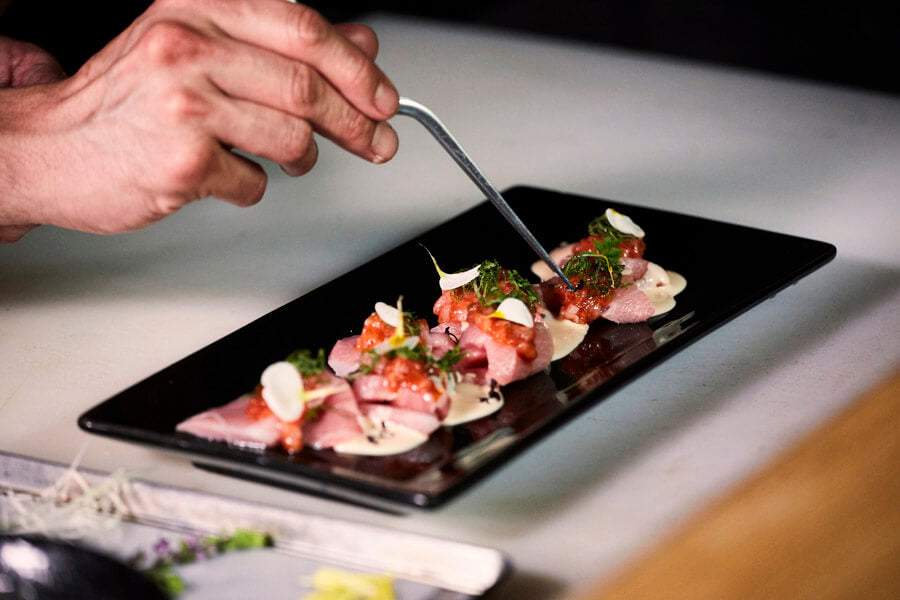
Three sashimi cuts
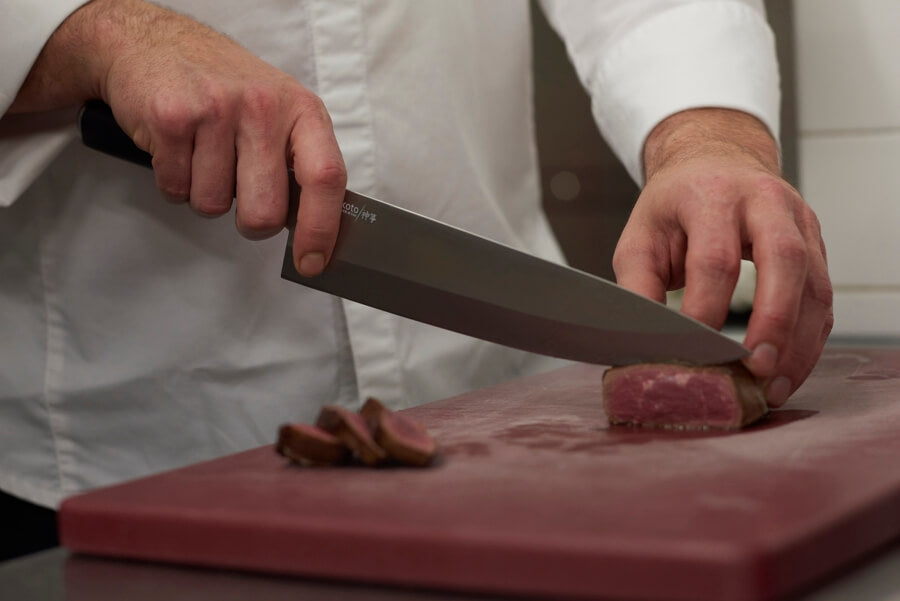
Note: In all sashimi cuts, use one long motion to cut fish with the full length of the blade from base to tip. Avoid a stop-and-start motion as it will damage the delicate fish flesh and create a jagged finish. Also ensure the knife is extremely sharp.
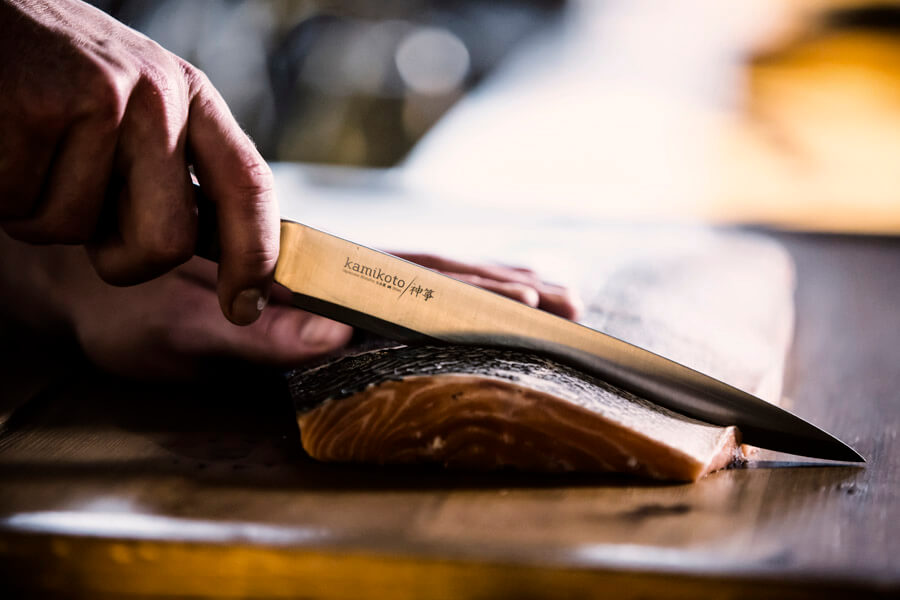
Hira-zukuri (rectangle slices)
- Grip the fish & position the knife at the top of the fillet
- Draw the knife from the top towards you in a single stroke to create a ½ inch wide rectangular slice
- Continue to slice in this manner for the remainder of required portions
Usu-zukuri (thin slice)
- Locate the grain of the fish fillet
- Position the knife across the grain & repeat the same slicing motion as for rectangular slices but cutting in a diagonal fashion
- The slices should be much thinner than hira-zukuri, almost akin to the thickness of a sheet of paper
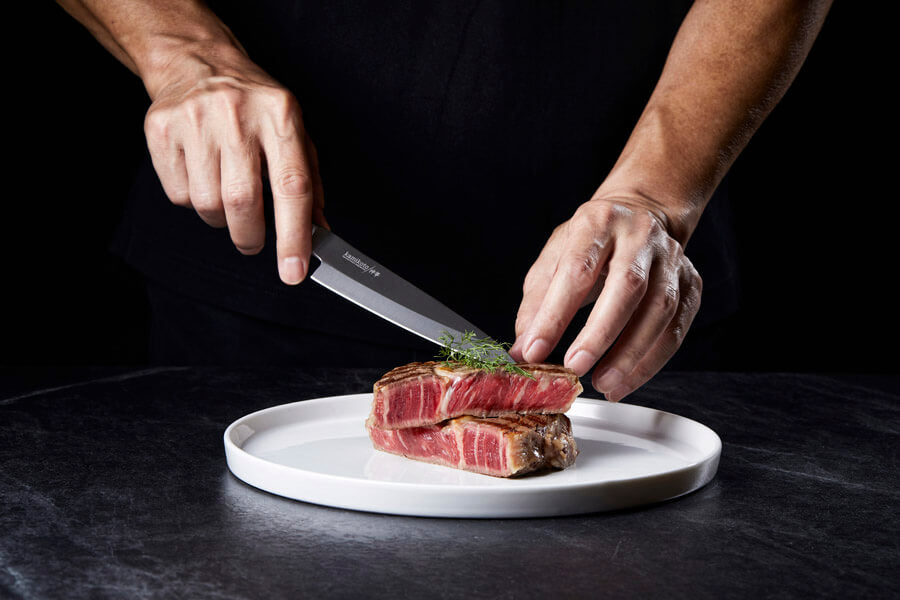
Kaku-zukuri (square/cube slices)
- Cut fish fillet into approx. ½ inch sticks
- Dice to create uniform cubes
Knife Techniques for Okonomiyaki
Okonomiyaki is essentially the Japanese version of a savory pancake. Many Japanese households mix leftover vegetable and meats into the batter and then grill them, thereby creating a flavor-filled one-dish wonder.
Making okonomiyaki is a relatively straight-forward process. It is not a requirement that individual ingredients be cut precisely to create an overall aesthetic effect. As long as the ingredients are cut into somewhat uniform shapes to ensure even cooking, most slicing and/or chopping techniques can be employed.
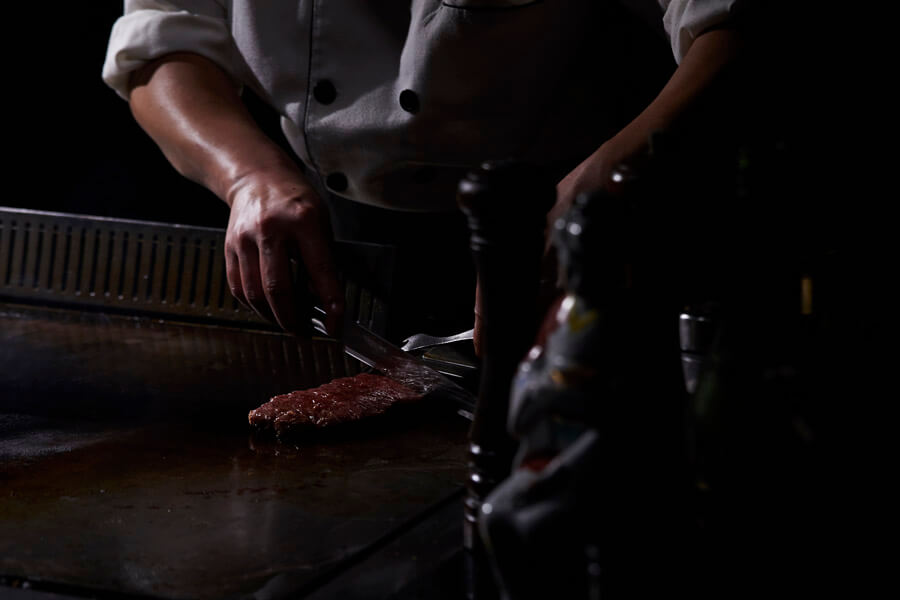
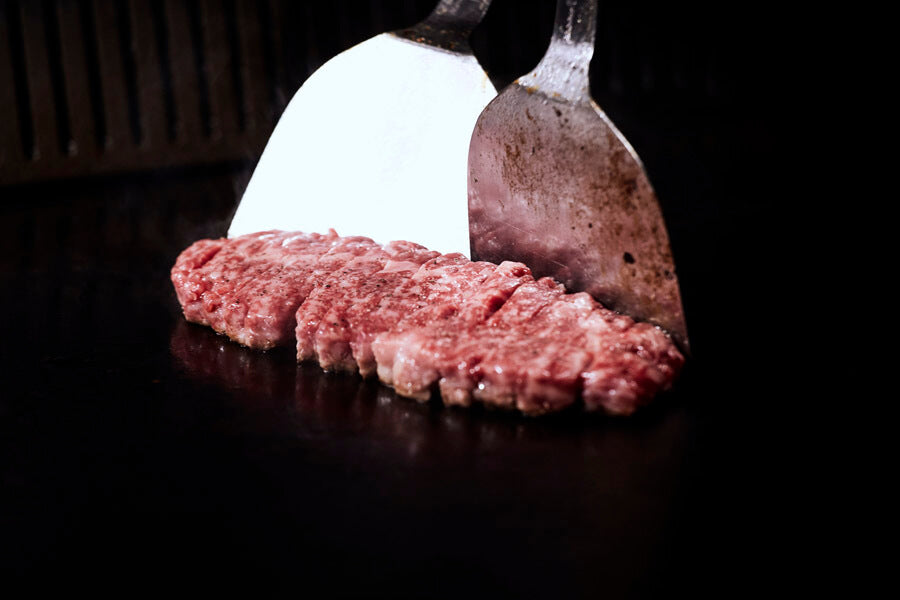
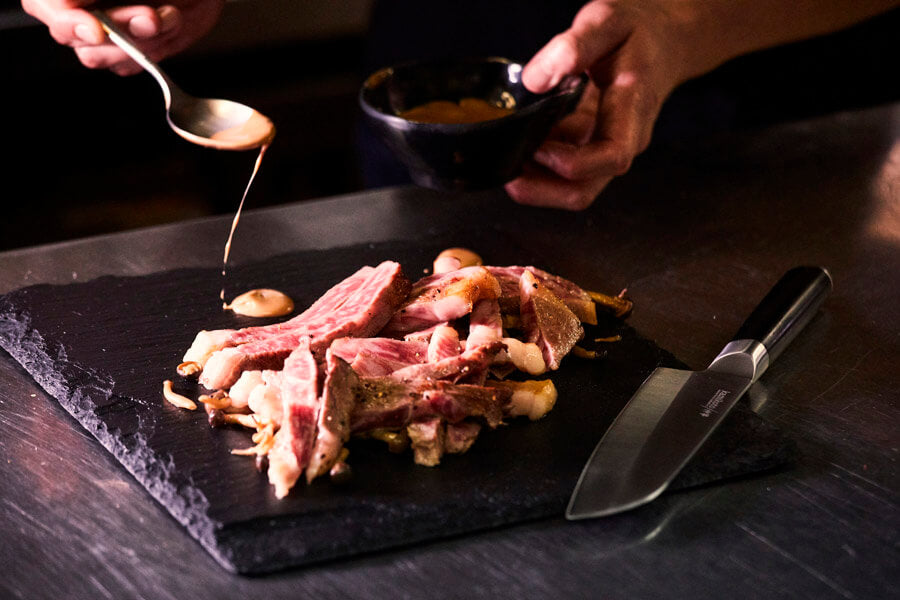
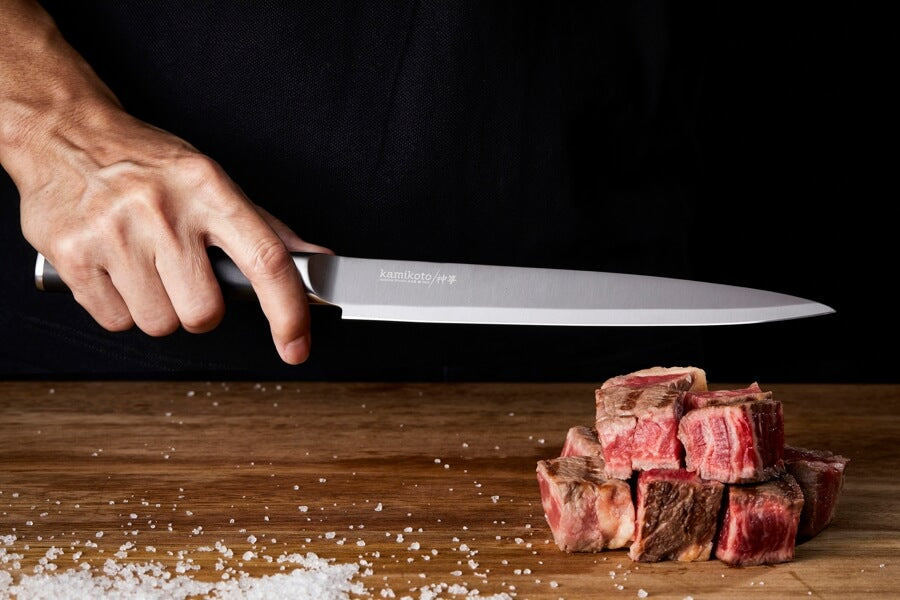
Knife Techniques for Hibachi Grilling & Yakitori
Cooking the hibachi way traditionally involves grilling food on a metal grill set atop a small bowl-shaped stove fueled by charcoal. Today, there are many additional varieties of hibachi grills made from ceramics or other materials in a box-like shape.
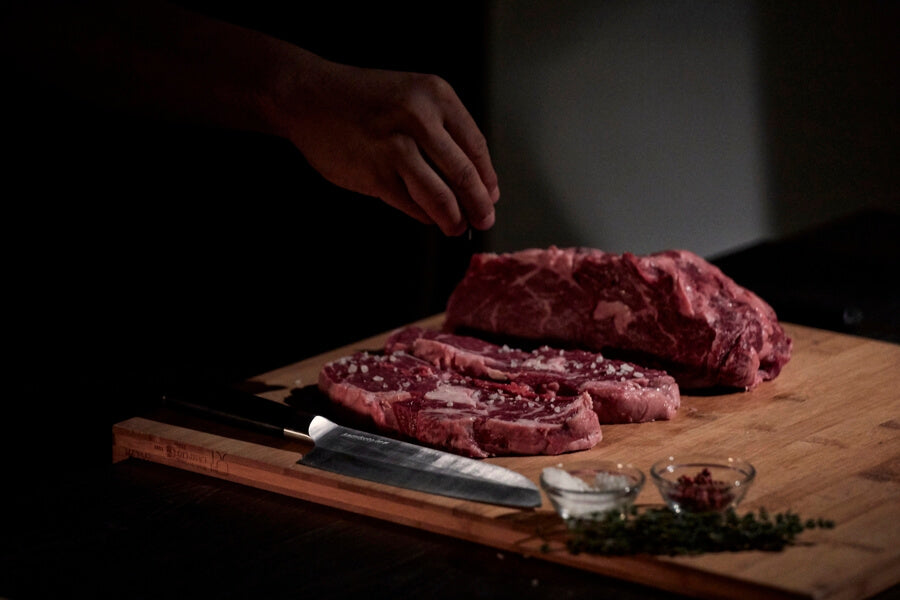
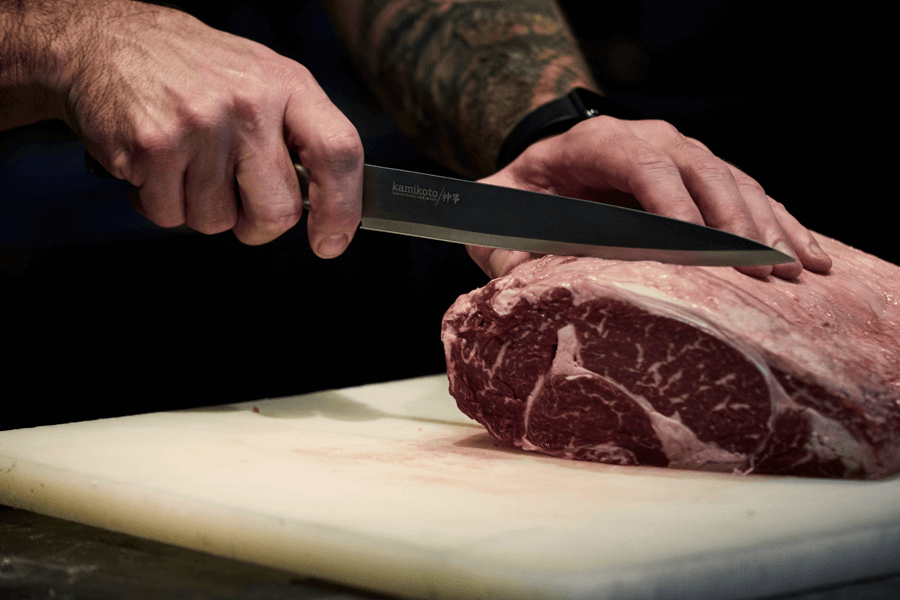
While seafood and cuts of meat such as steak can be grilled on a hibachi, they are most often used to cook yakitori – skewered bite-size food items.
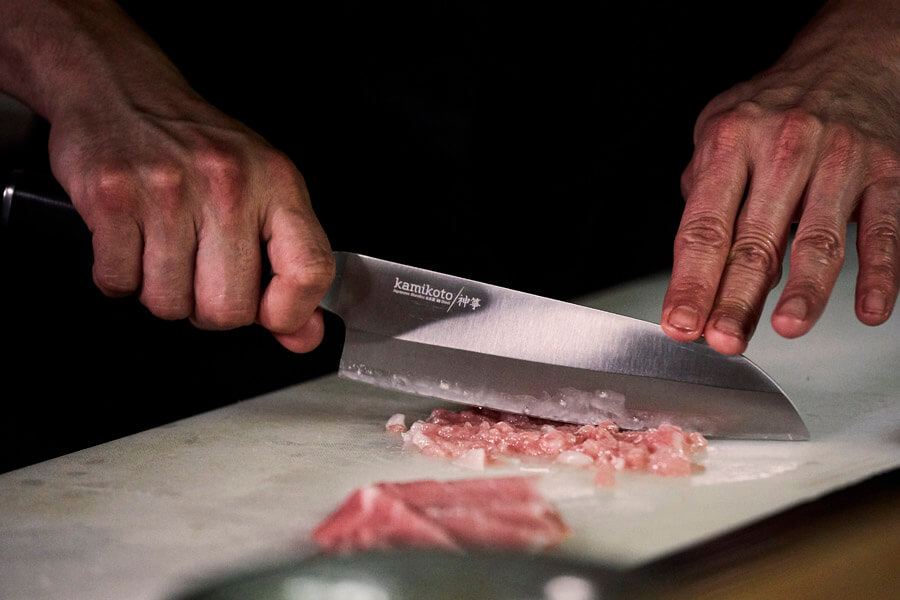
The most important knife technique to utilize when making yakitori is one that will produce uniform cuts of meat so all pieces cook evenly on the grill. Generally, 1 inch size cubes are good as they will ensure the meat remains moist.
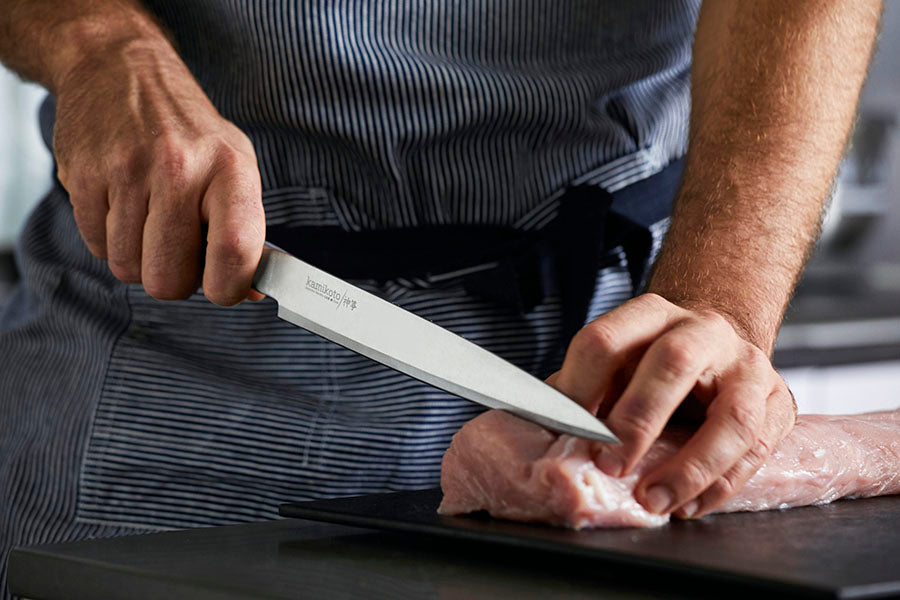
Knife Techniques for Tonkatsu
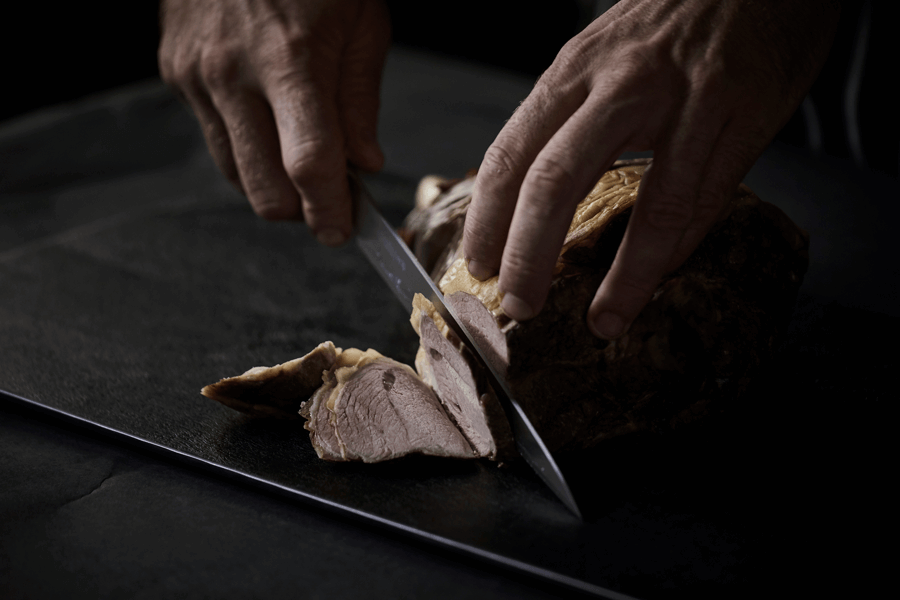
Tonkatsu is very similar to a German schnitzel – a breaded pork cutlet deep fried to golden brown. The main difference is the Japanese version uses Panko crumbs and it is served with a special Tonkatsu sauce (with Worcestershire sauce as its base). After frying, the pork cutlet is then carved into multiple pieces and served with shredded cabbage and other vegetables.
As for knife techniques, an important step does not involve a knife at all, but a meat mallet. The pork cutlet must be pounded to an even thickness so it cooks evenly when deep-fried.
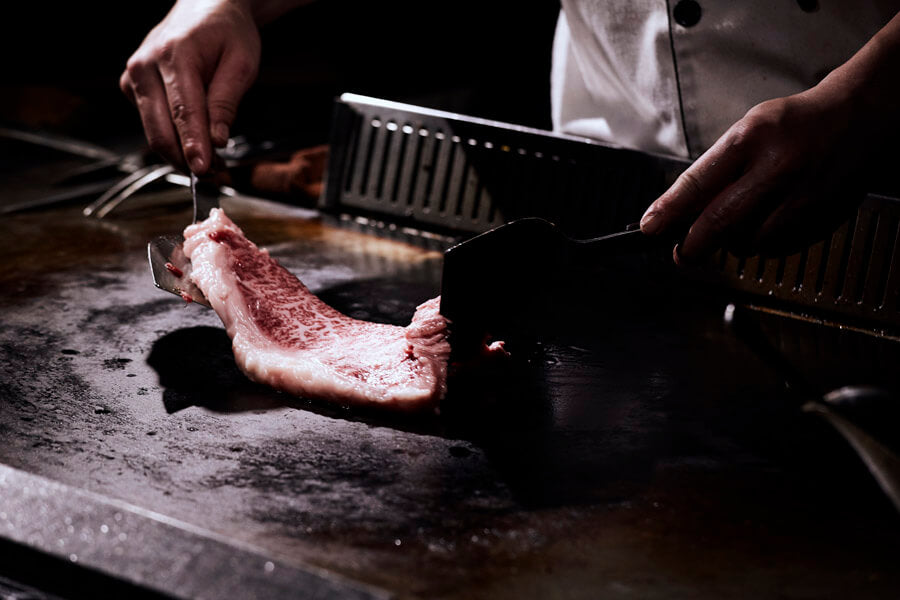
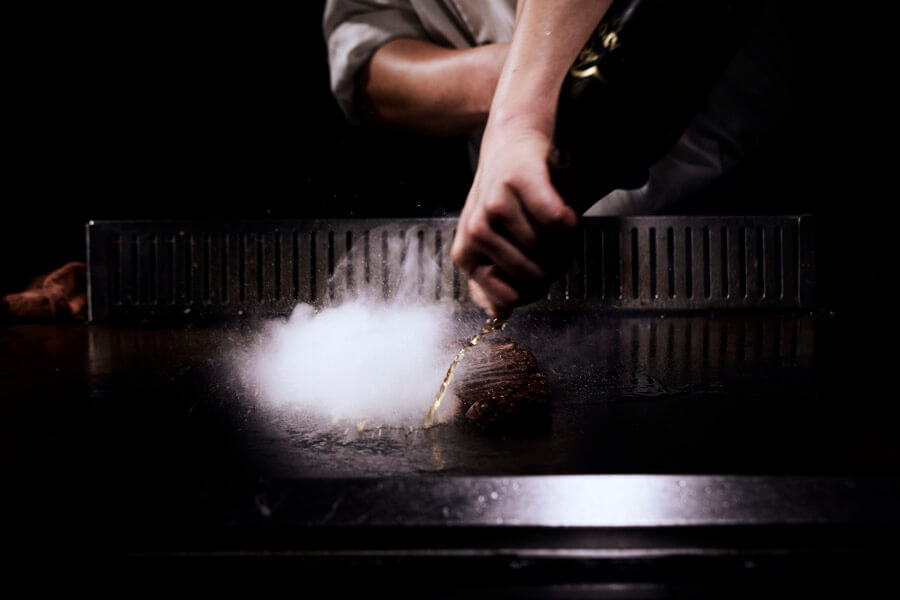
Knife Techniques for Teppanyaki
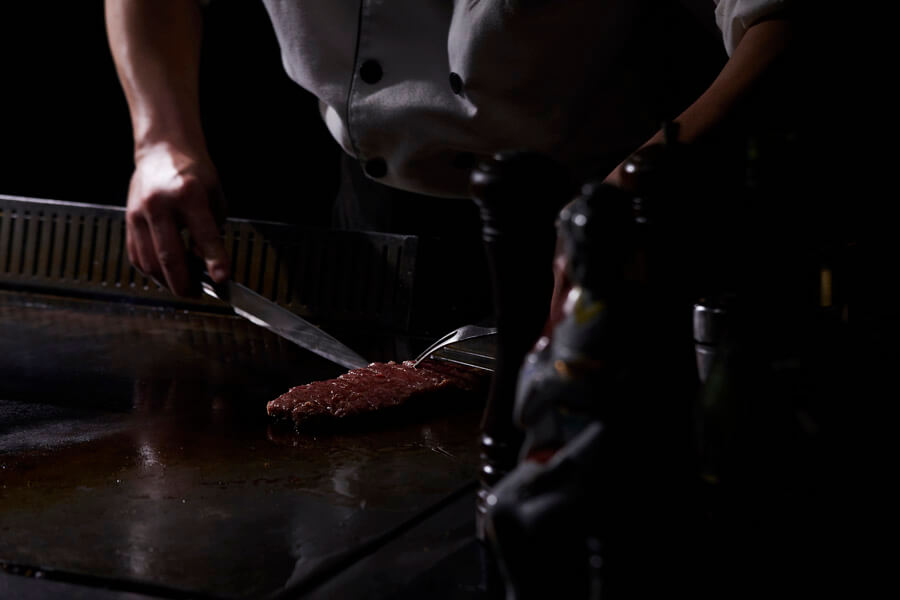
Anyone who has watched a master teppanyaki chef at work can appreciate the beauty and art in their movements, as well as their deft knife skills. They utilize many different knife techniques when creating their dishes, including all of the aforementioned (katsuramuki, sengiri, hira-zukuri and usu-zukuri).
In addition to these, they may also learn a variety of knife-wielding tricks to dazzle and delight diners as they prepare their meals. These take much time and often require direct tutelage under an expert Japanese teppanyaki chef for a number of years.
Those are just a few of the important knife techniques Japanese chefs acquire throughout their culinary career. There are countless more, especially when it comes to dishes focusing on vegetables. It is a long journey to become masterful Japanese chef, but one that is supremely worth it.